How to Change Your Domain Nameservers

This tutorial will show you how to change the nameservers associated with your College Web Pro domain name.

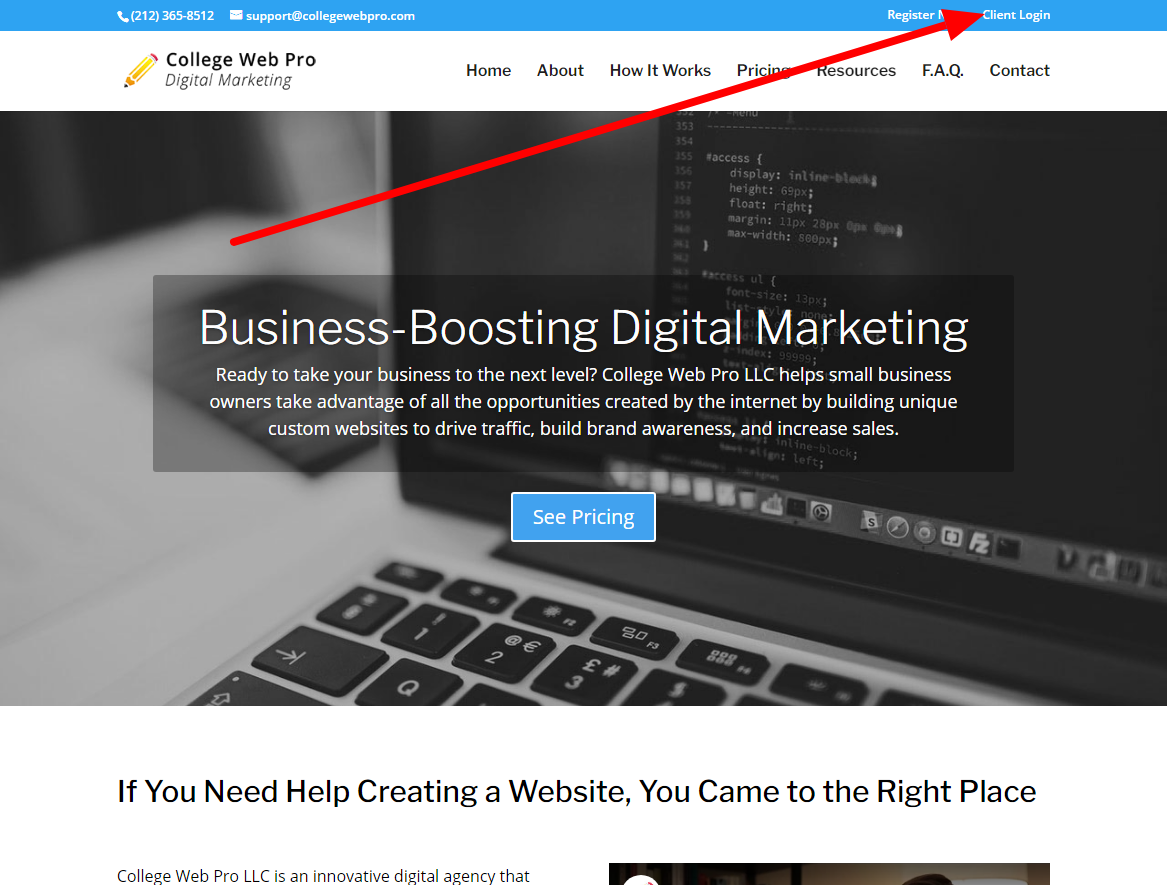
1.  Login to your Client Area by going to CollegeWebPro.com and click on "Client Login".


2.  Login to your client area using the password you chose when you first registered.  If you forget it you can reset your password with your e-mail.


3.  After logging in, click on the box that says "DOMAINS" with the icon of the globe.

4.  Click the little arrow next to the domain and then click on "CHANGE NAMESERVERS".


5.  Erase the current nameservers and put in the new ones.  When you're done, click the blue button that says "Change Nameservers" at the bottom of the page.


  • 118 Users Found This Useful
Was this answer helpful?

Related Articles

How to Securely Accept Payments Through Your Website Using a Paypal Buy Now Button

This tutorial will show you how to add Paypal to your website.  It is available in video format...

How to Upload Files Directly to Your Web Hosting Space via FTP

This tutorial is available in video format here: How to Upload Files Directly to Your Web Hosting...

How to Update Your Customer Payment Details

1. Go to CollegeWebPro.com and click on Client Login. 2. Login with your Client Area login...

How to Add a New Domain Name to Your College Web Pro Account

This tutorial will show you how to add an additional domain name to your account.  Thanks for...

How to Add/Delete E-mail Accounts

This tutorial explains how to add/delete e-mail accounts.  This tutorial is also available in...